MySQL Workbench
Connect to your local MySQL server with MySQL Workbench, load the northwind, sakila and world sample databases, and browse their tables.
Novice · Database · MySQL · Updated
MySQL is the database engine this course uses.
MySQL Workbench is a unified visual tool used for database design, development, and administration for MySQL databases. It provides a comprehensive suite of features to help database administrators, developers, and architects manage and interact with MySQL databases efficiently.
It includes a powerful SQL editor for writing, editing, and executing SQL queries. The editor features syntax highlighting, auto-complete, and query history to streamline development.
Working with MySQL Workbench
MySQL Workbench is the tool that you will use to view your data. It does not actually store the data, but it allows you to connect to the database engine and view the data.
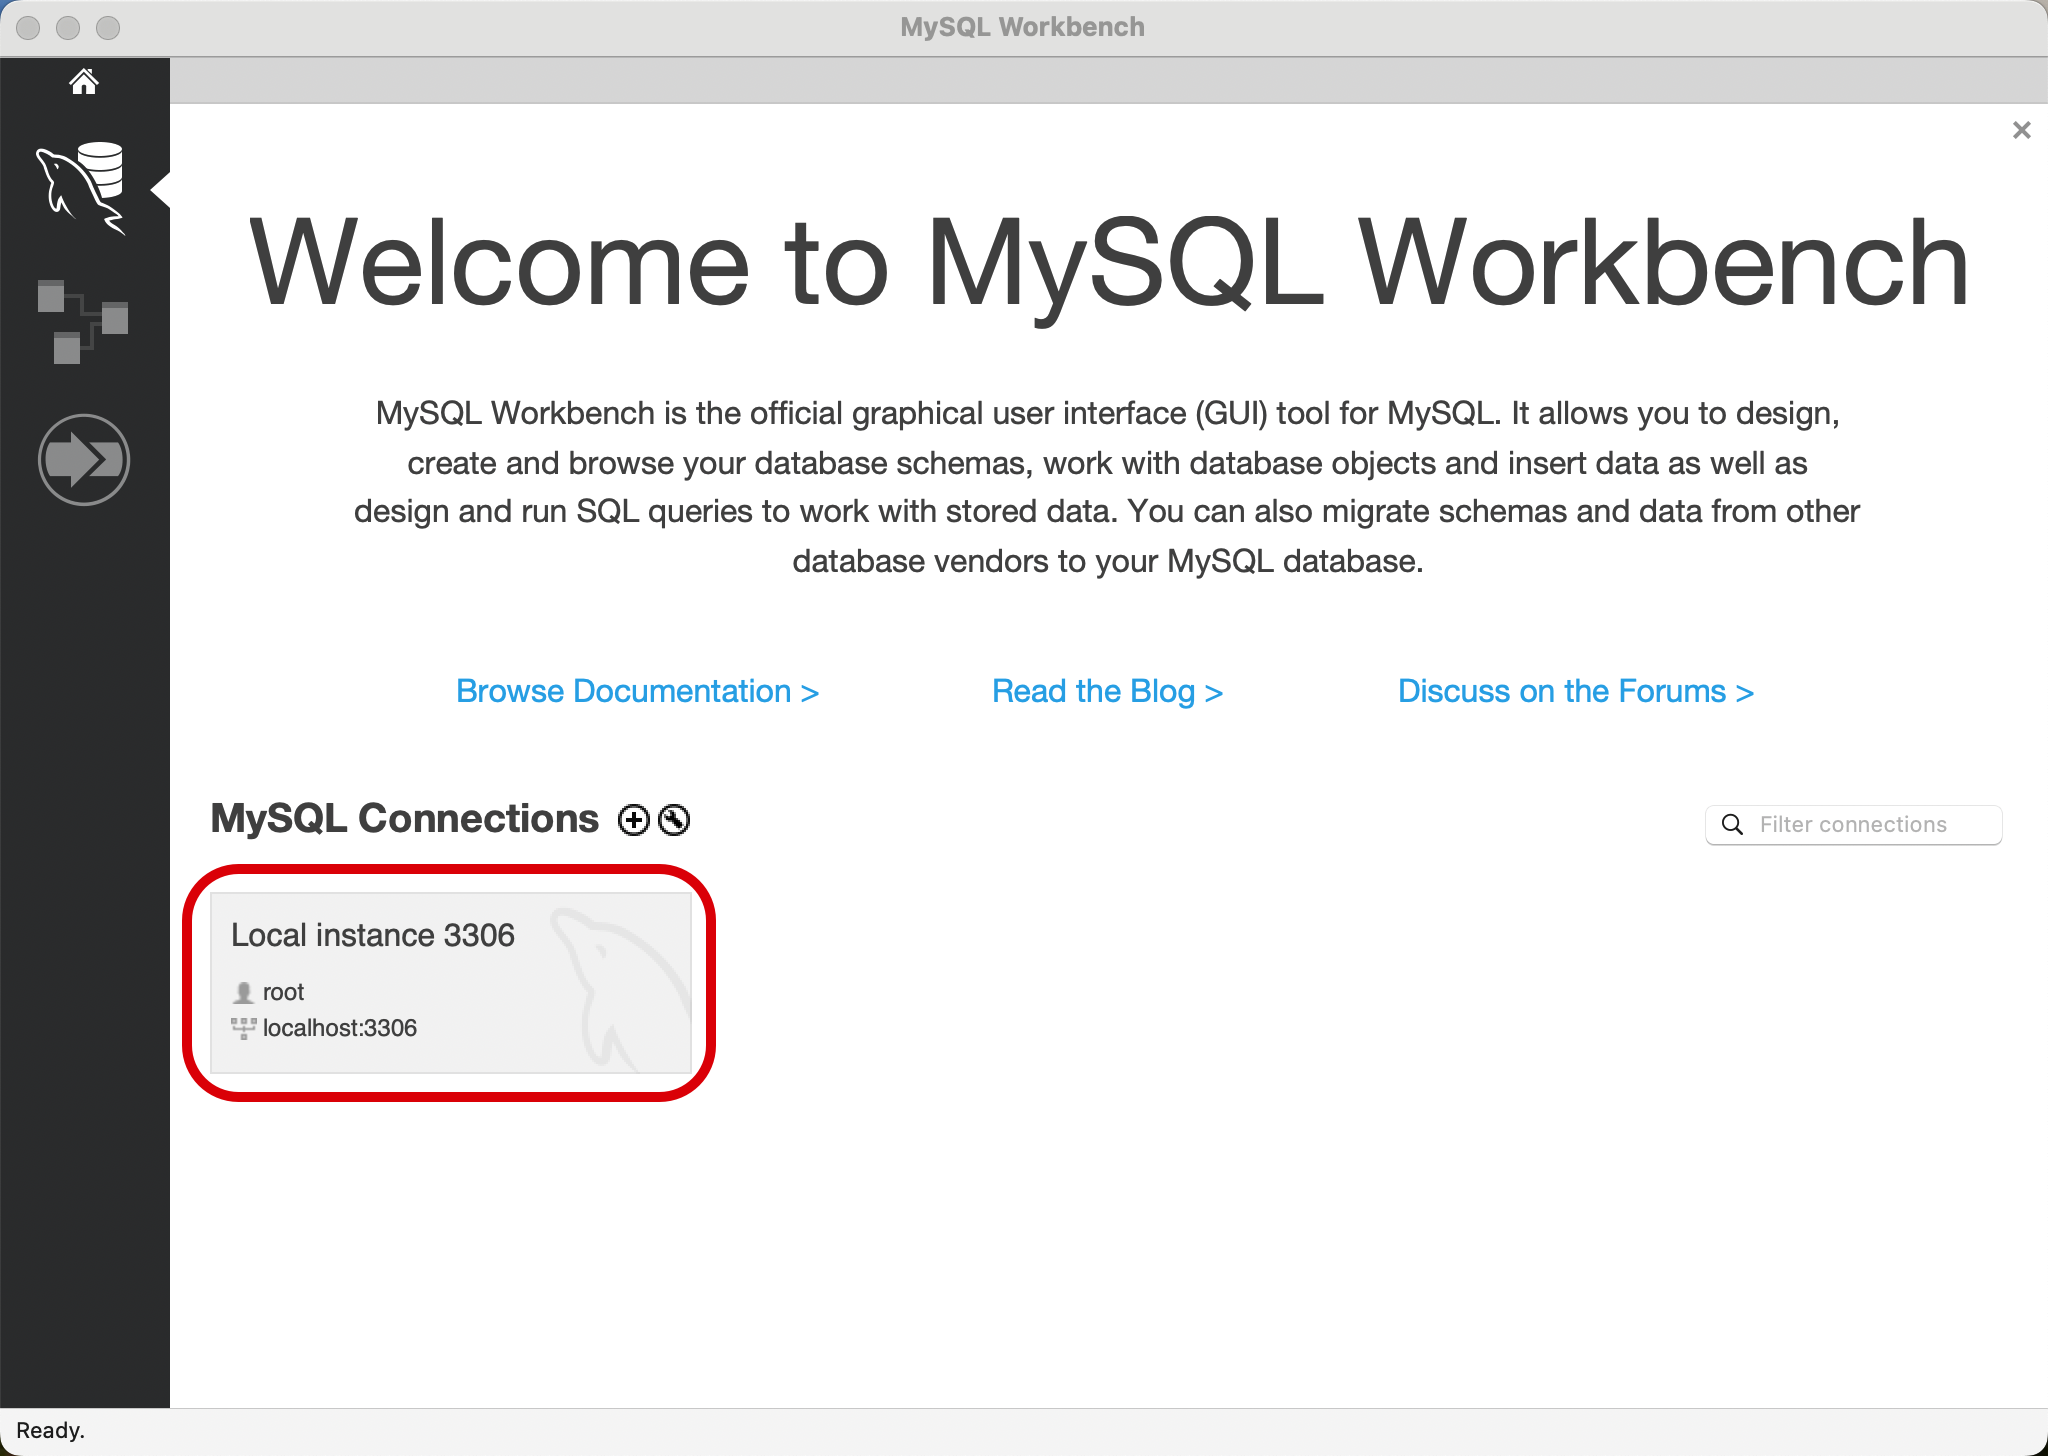
- Open the MySQL Workbench and click the Local Instance button to connect to the MySQL Server installed on your computer.
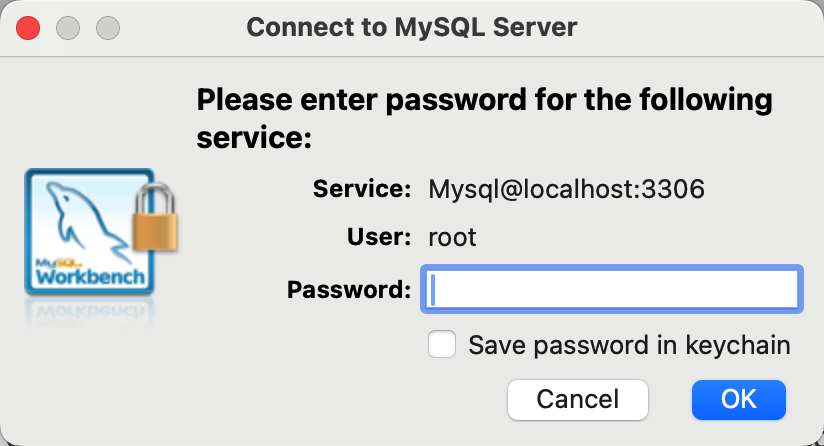
- Enter the password for the root MySQL Server
- Click on the
Schemasbutton to reveal the list of databases.
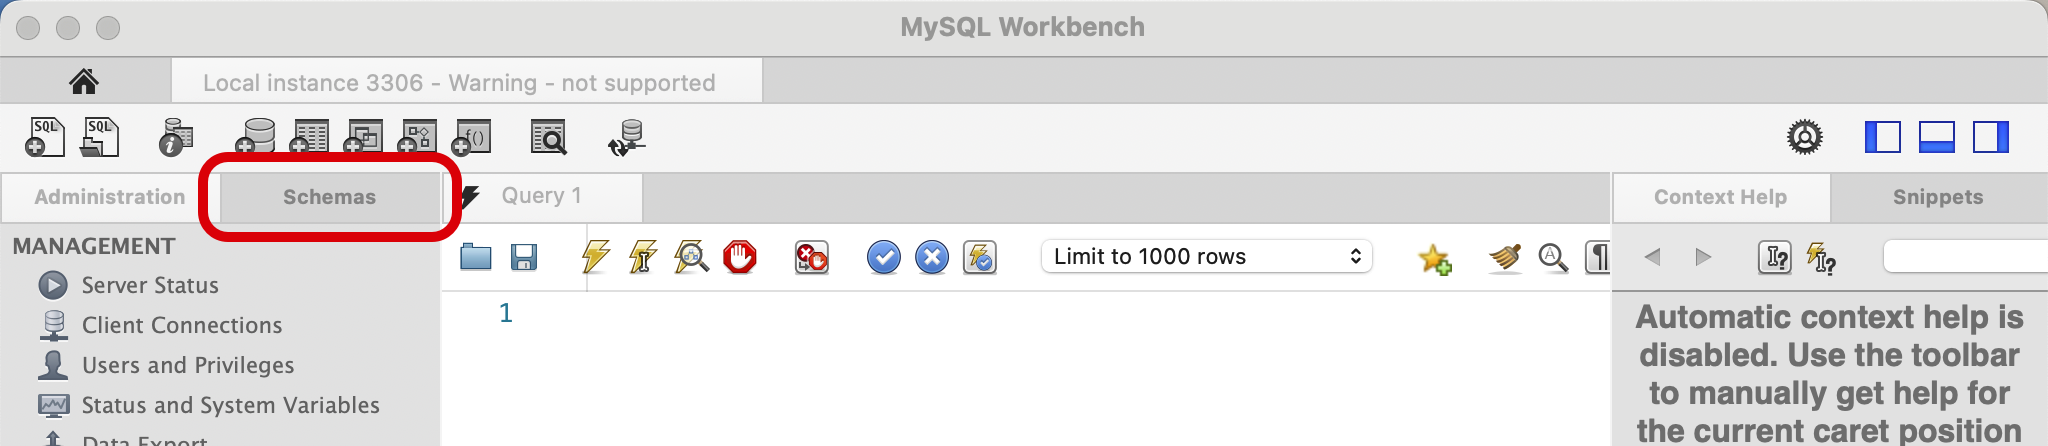
- Initially, there will only be one database in the list.
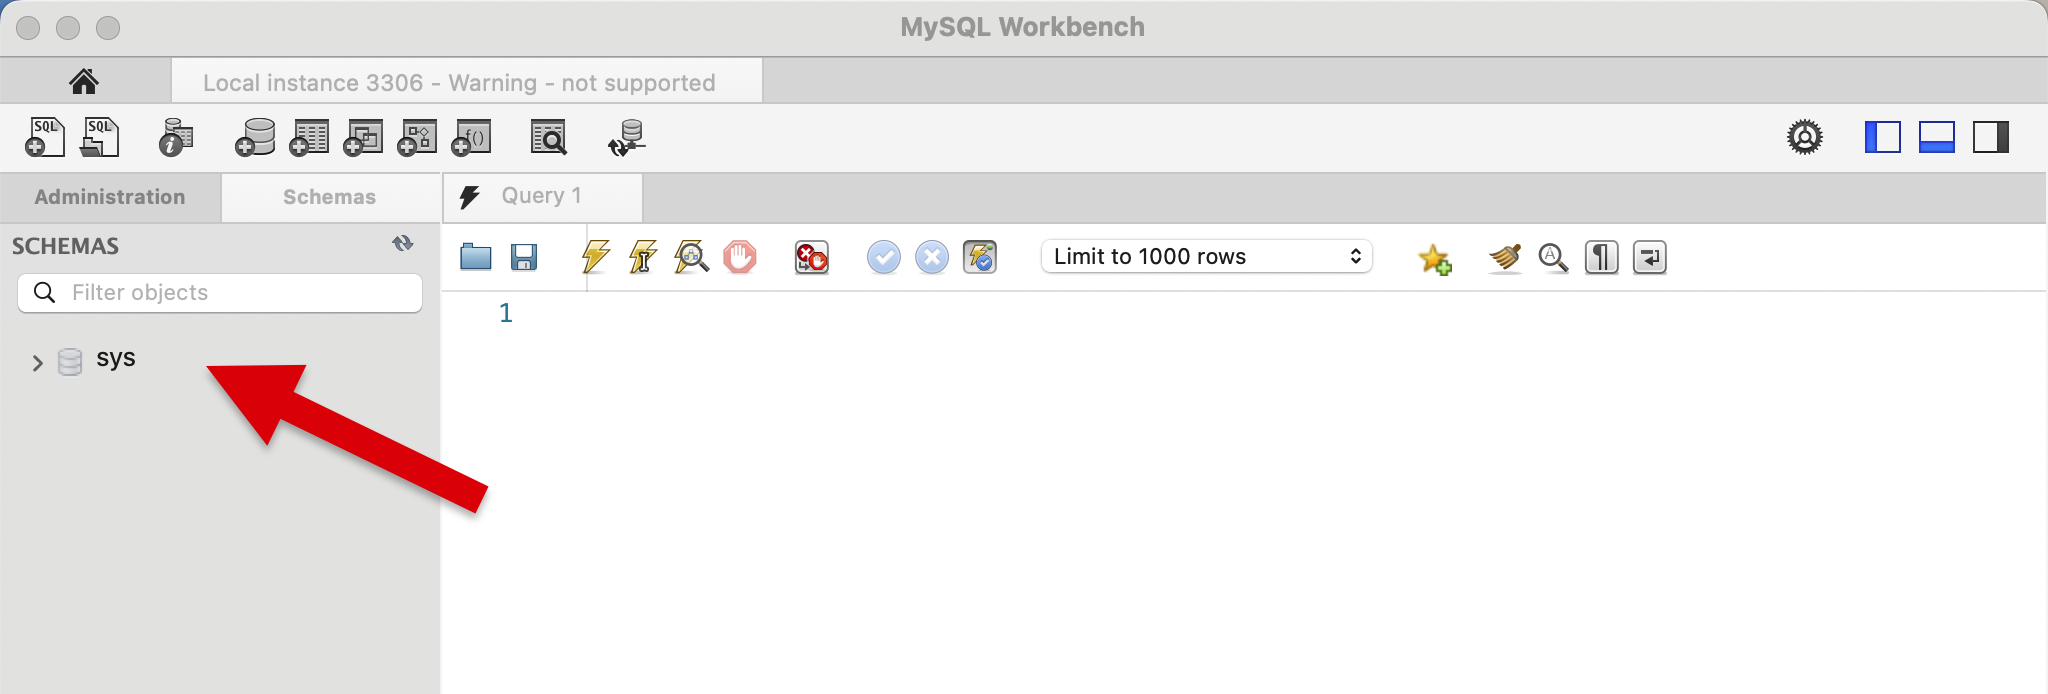
Create Sample Databases
Next, you will execute several database scripts to create 3 sample databases with sample data. Database scripts are text files with a .sql extension.
- Click on the
Open SQL Scriptbutton
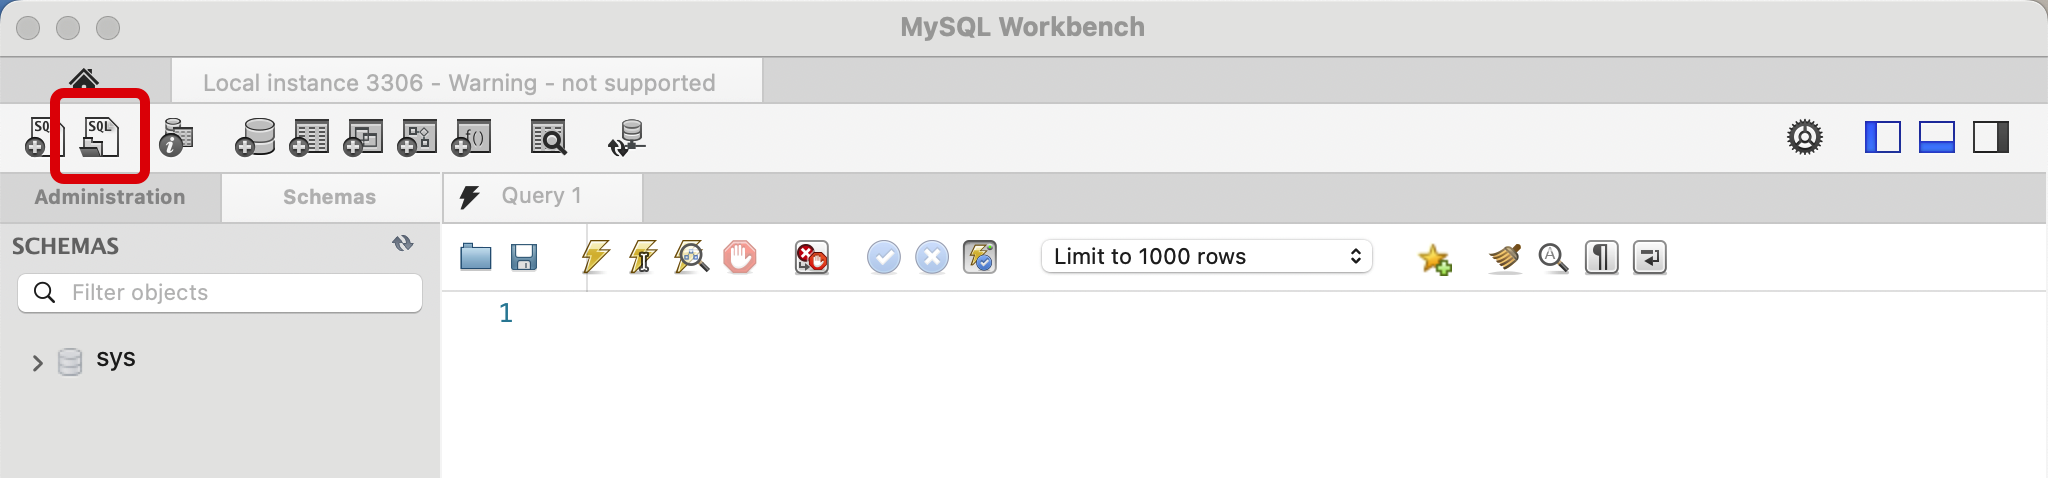
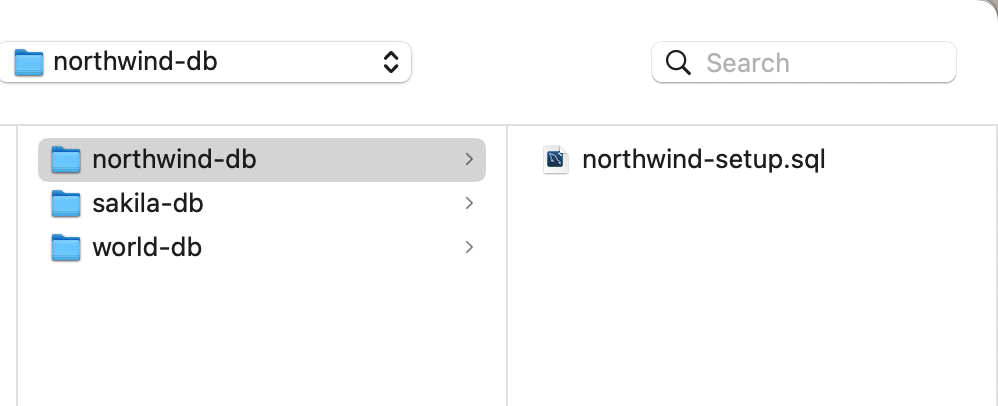
- Go to the folder where you saved the sample-database scripts, open the
northwind-dbfolder, and opennorthwind-setup.sql.
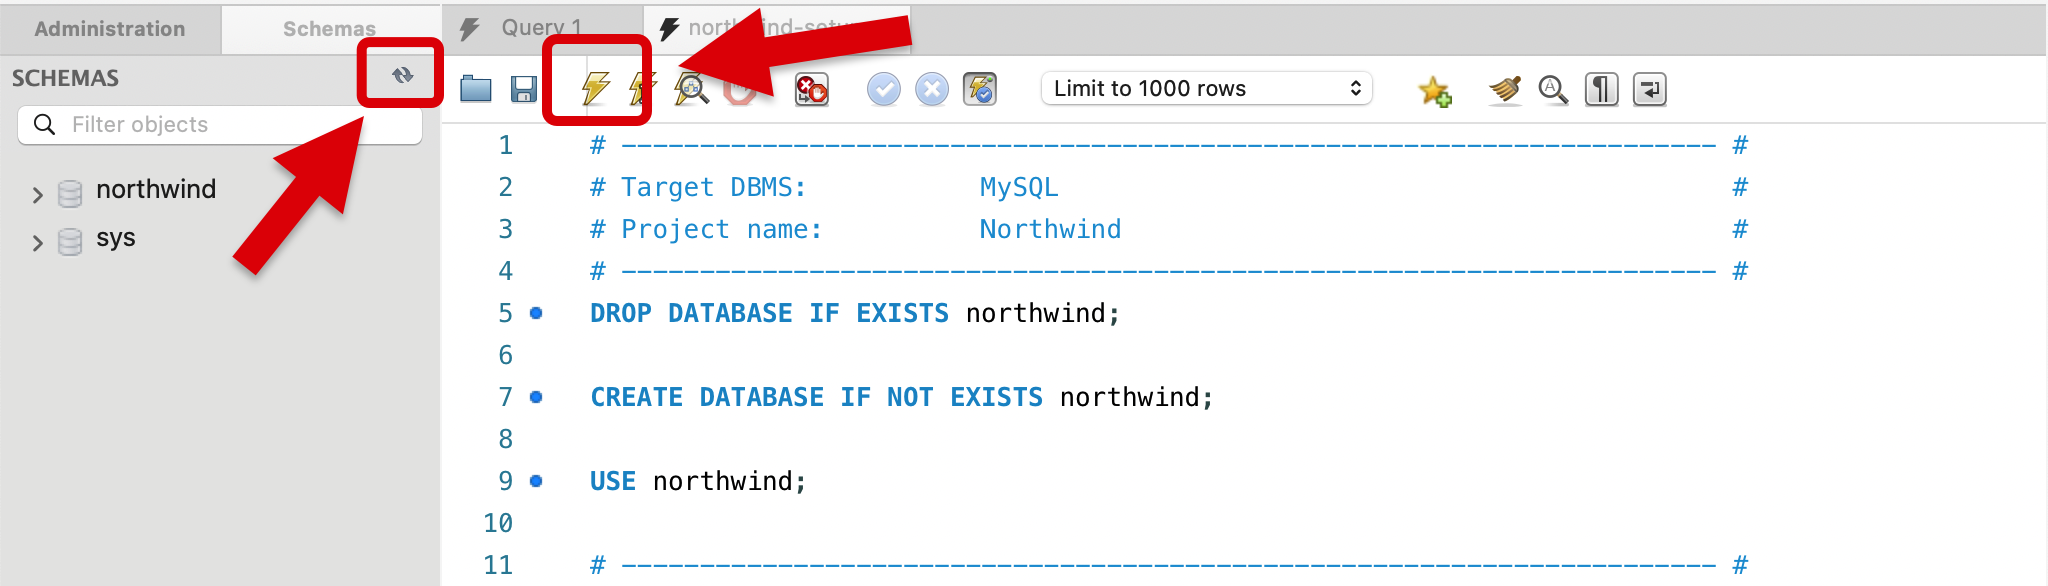
- Execute the script to create the database, then click the refresh button to load the database information.
- Expand the
northwinddatabase and theTablesnode. This will display the list of tables.
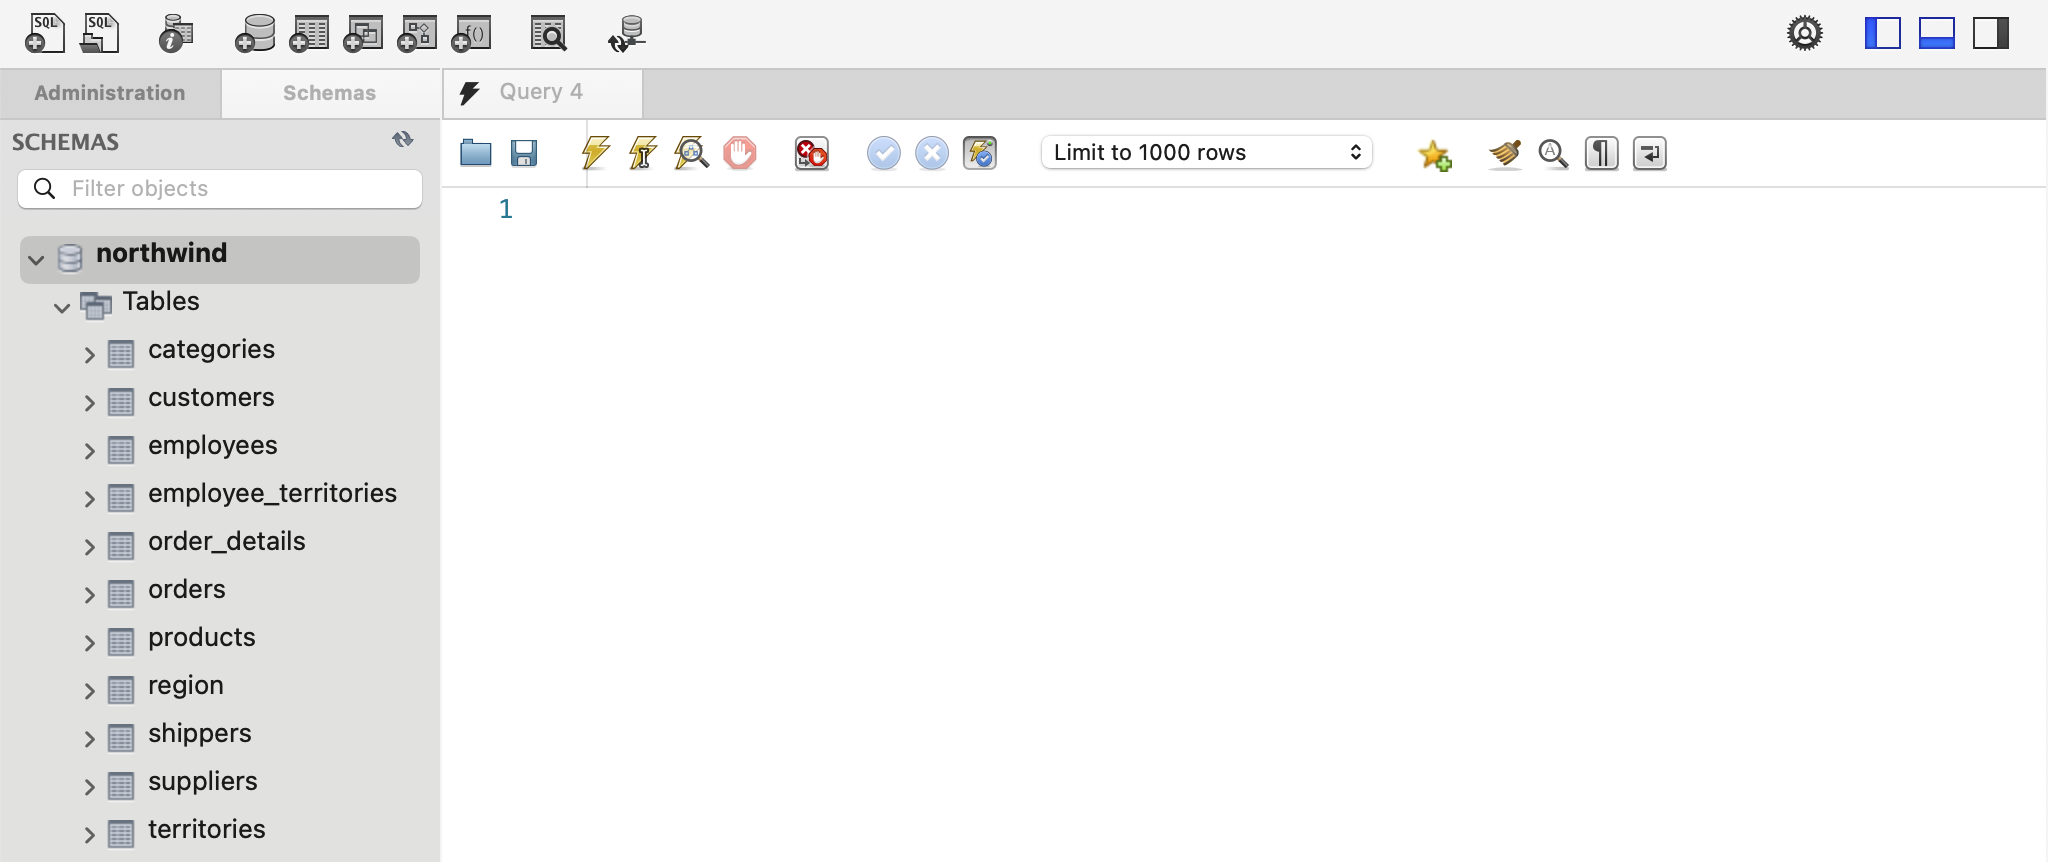
- Right-click the customers table, then click Select Rows
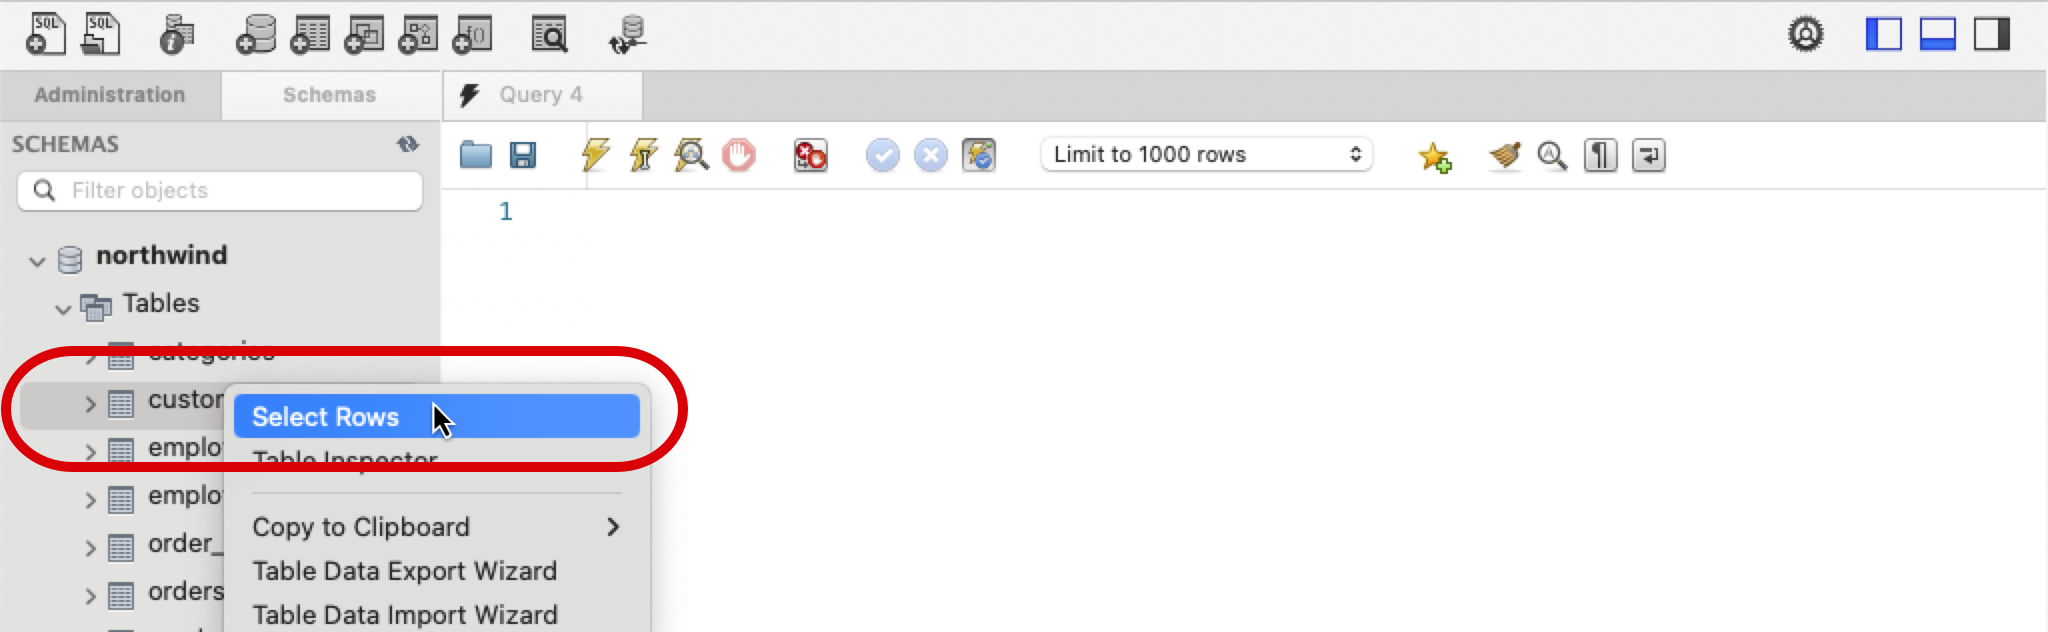
- This will display a grid view of all customers in the database
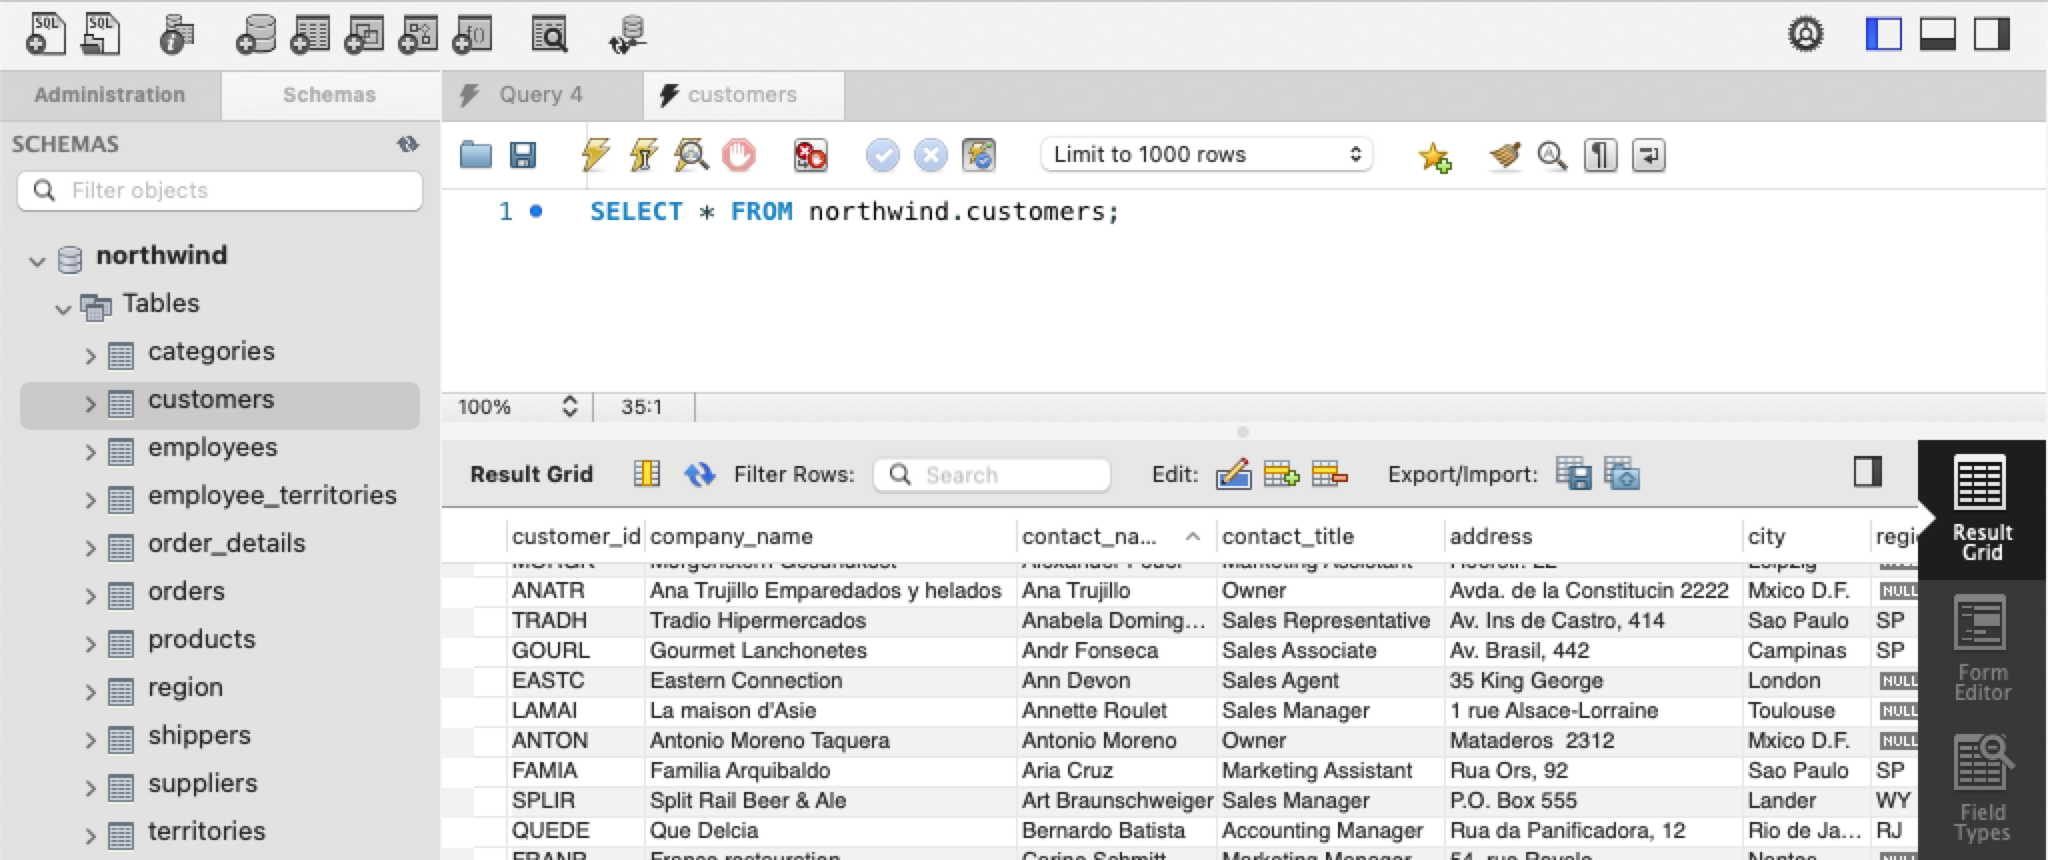
By looking through the data in other tables, you will begin to understand what data is stored in the database and how the data is related. As a developer who works with data or as a data scientist, you have to have a good knowledge of the data. You need to understand how the tables are related, and you must understand the data. Without this knowledge, it will be difficult to build useful solutions.
Create the `sakila` and `world` databases
Follow the same steps to install the sakila and world databases that you used to install northwind.
Sakila
To install the sakila database you must run 3 database scripts.
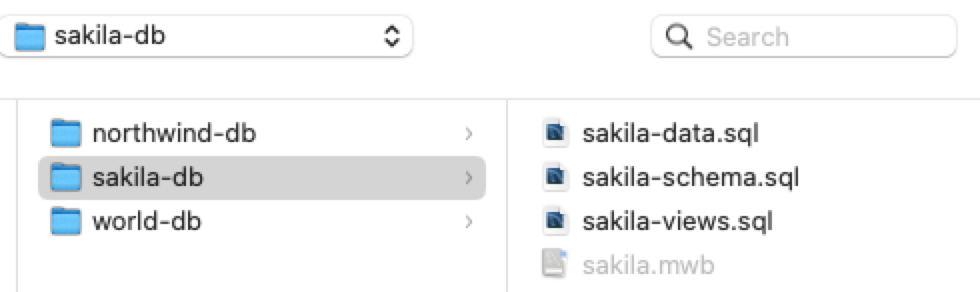
Execute the scripts in the following order (they must be executed in the correct order, or the database will not be created correctly)
- sakila-schema.sql
- sakila-data.sql
- sakila-views.sql
World
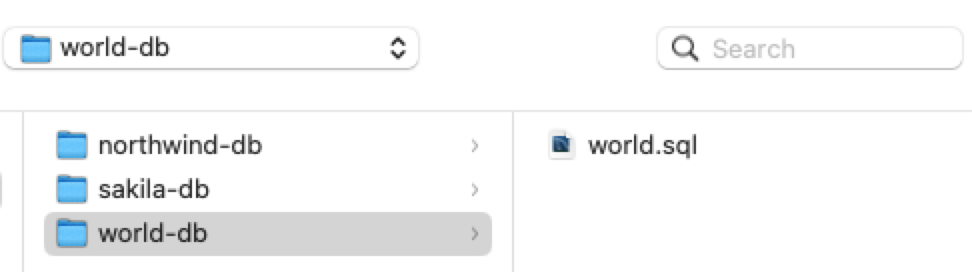
The world database only requires one script to be executed.
Summary
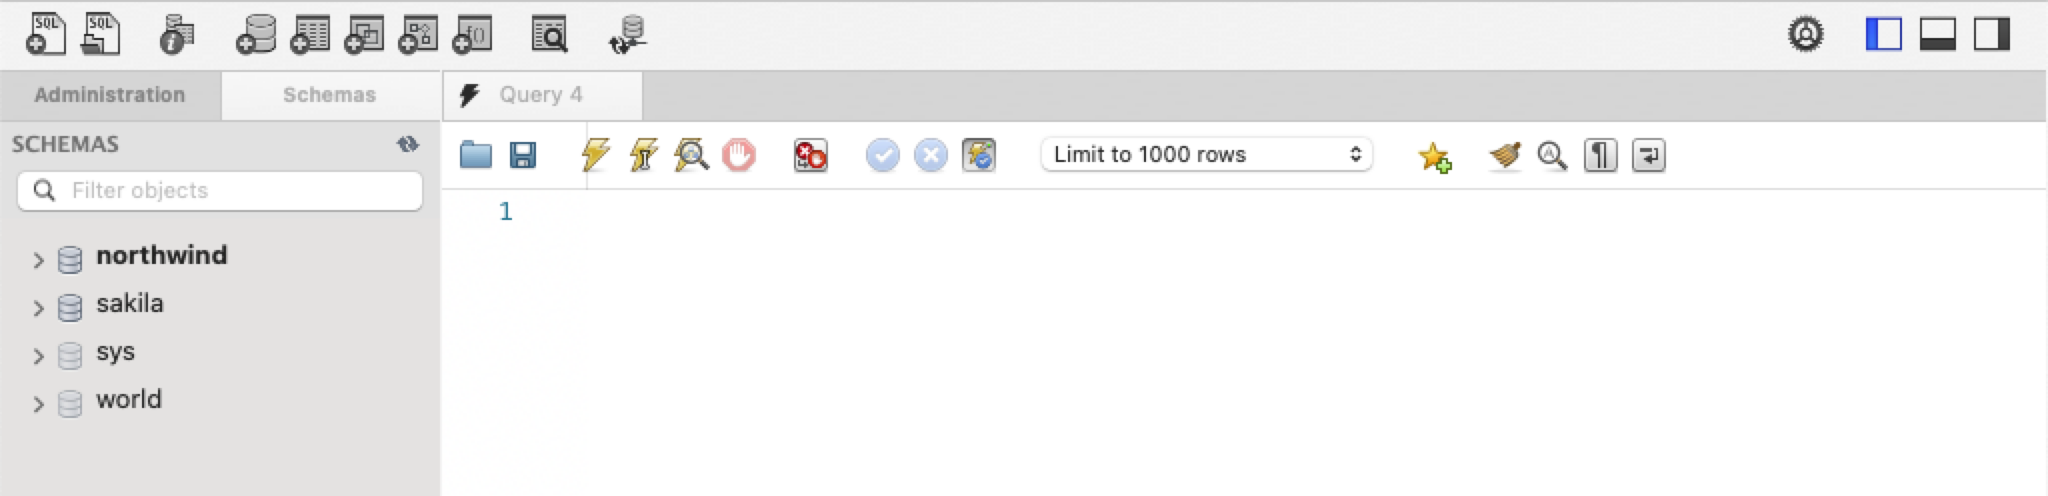
After installing the sample databases and refreshing the schema window, you should see a list of all databases.